
 Piotr Buczkowski
 ScanClean models
- Site: our own office, two rooms, about 29 m², ceiling height 2.52 m
- Scan: one handheld XGRIDS L2 Pro scanner, 5 minutes 21 seconds of walking, 15.2 GB of raw data, 28 minutes of processing
- Data: 1,019,954 scan points (Gaussian splats) for the whole scan, 562,478 of them in the two rooms
- Result: 88 separate objects and 16 building elements, each with its own scan points; walls placed within 0.8 cm of the scan (median), objects within 2.4 cm
Why we did it
A Gaussian splat scan looks like a photograph you can walk through. That is its strength and its limit. It is one block of about a million coloured points with no idea what a desk or a wall is. You cannot ask how wide the doorway is, you cannot move a machine to see whether a forklift still gets past, and you cannot remove a shelf to check what a camera would see behind it.
For safety planning and layout work that is exactly what people need: the real place, with real dimensions, in which things can be rearranged. So the question for this test was narrow. Can we take a scan and split it into separate, named, movable objects without losing the way it looks?
What we wanted to check
- Whether walls, doors and openings can be recovered from the scan with centimetre accuracy
- Whether every object in the room can become a separate thing that can be clicked and moved
- Whether the result still matches the scan when the two are laid over each other
- How much of this can be measured instead of judged by eye
What we did
1. First attempt: simple boxes. It failed twice
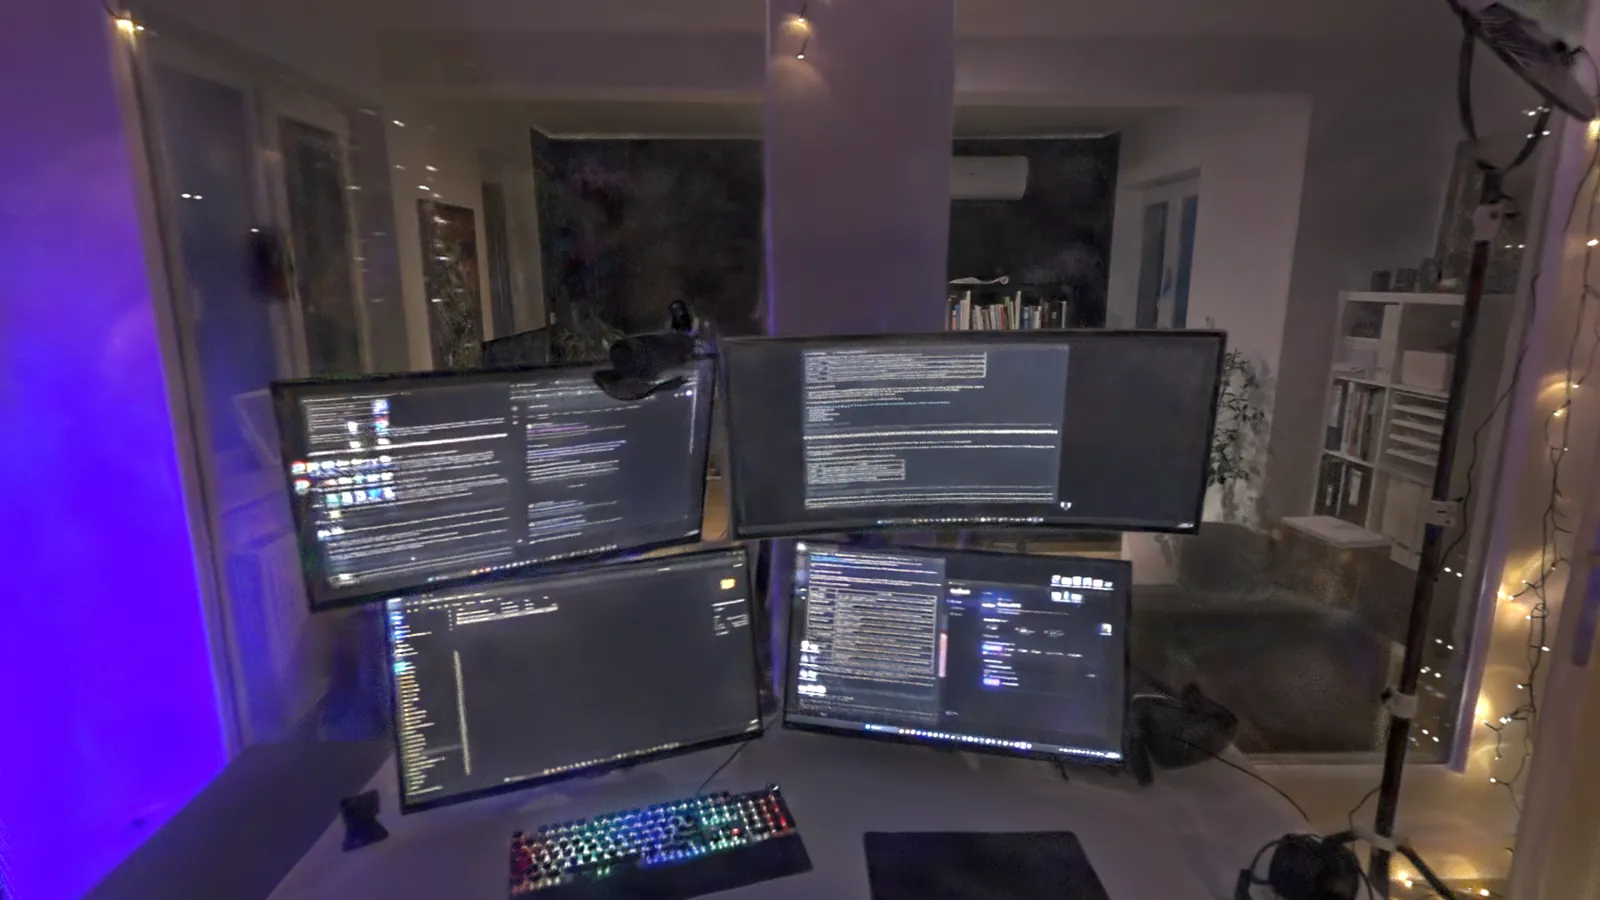
The scanner software exports a simplified mesh meant for collisions. Our first model was built from it and came out as a set of averaged blocks. A sofa was a box, a desk with four monitors was a box. Nobody would recognise their own room in it, so we dropped it.
The second attempt used the dense mesh and named every object by hand. It looked much better and it was wrong. We had assumed the larger room was a rectangle, because four fitted planes said so. It is not. It has an alcove 64 cm deep, the left wall stands 14 cm further out than we had put it, the door is in the alcove wall and a shelf we had placed in the room actually stands in the alcove. Our accuracy check did not catch any of this, because it only measured points inside the outline we had assumed.
2. Walls from slices, not from assumptions
The fix was to stop fitting shapes and start cutting the scan. We sliced it horizontally at three heights: just above the floor, at chest height and above the door frames. The slice above the doors shows the clean outline of walls and beams. The middle one shows doors and windows. The lowest shows what stands on the floor.
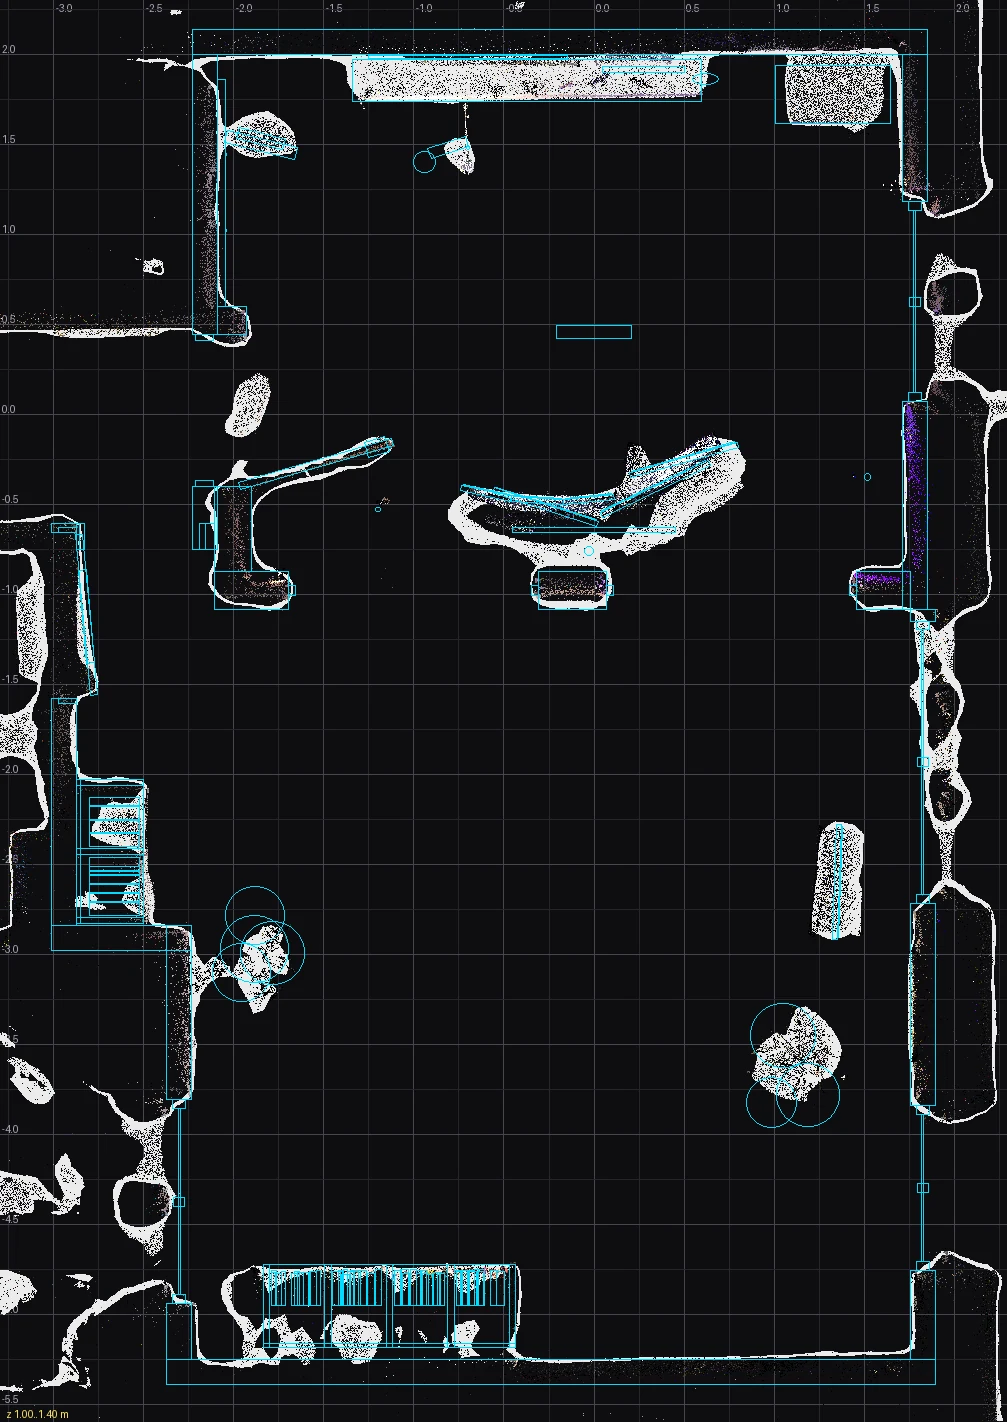
After that the measurement was honest. For every point of the scan mesh in both rooms we compute the distance to the nearest part of the model. Walls, floor and ceiling: 0.8 cm median, 93% of points within 5 cm. Objects: 2.4 cm median, 87% within 10 cm.
3. Cutting the mesh into objects. Accurate, but it looks like clay
Next we gave each object its real shape by cutting the scan mesh itself: every triangle goes to the wall, to a named object, or to an "unrecognised" group. Nothing is thrown away. The positions were right by definition, but the mesh from a handheld scanner is coarse. Four monitors melted into one lump and the chair became a few blobs.
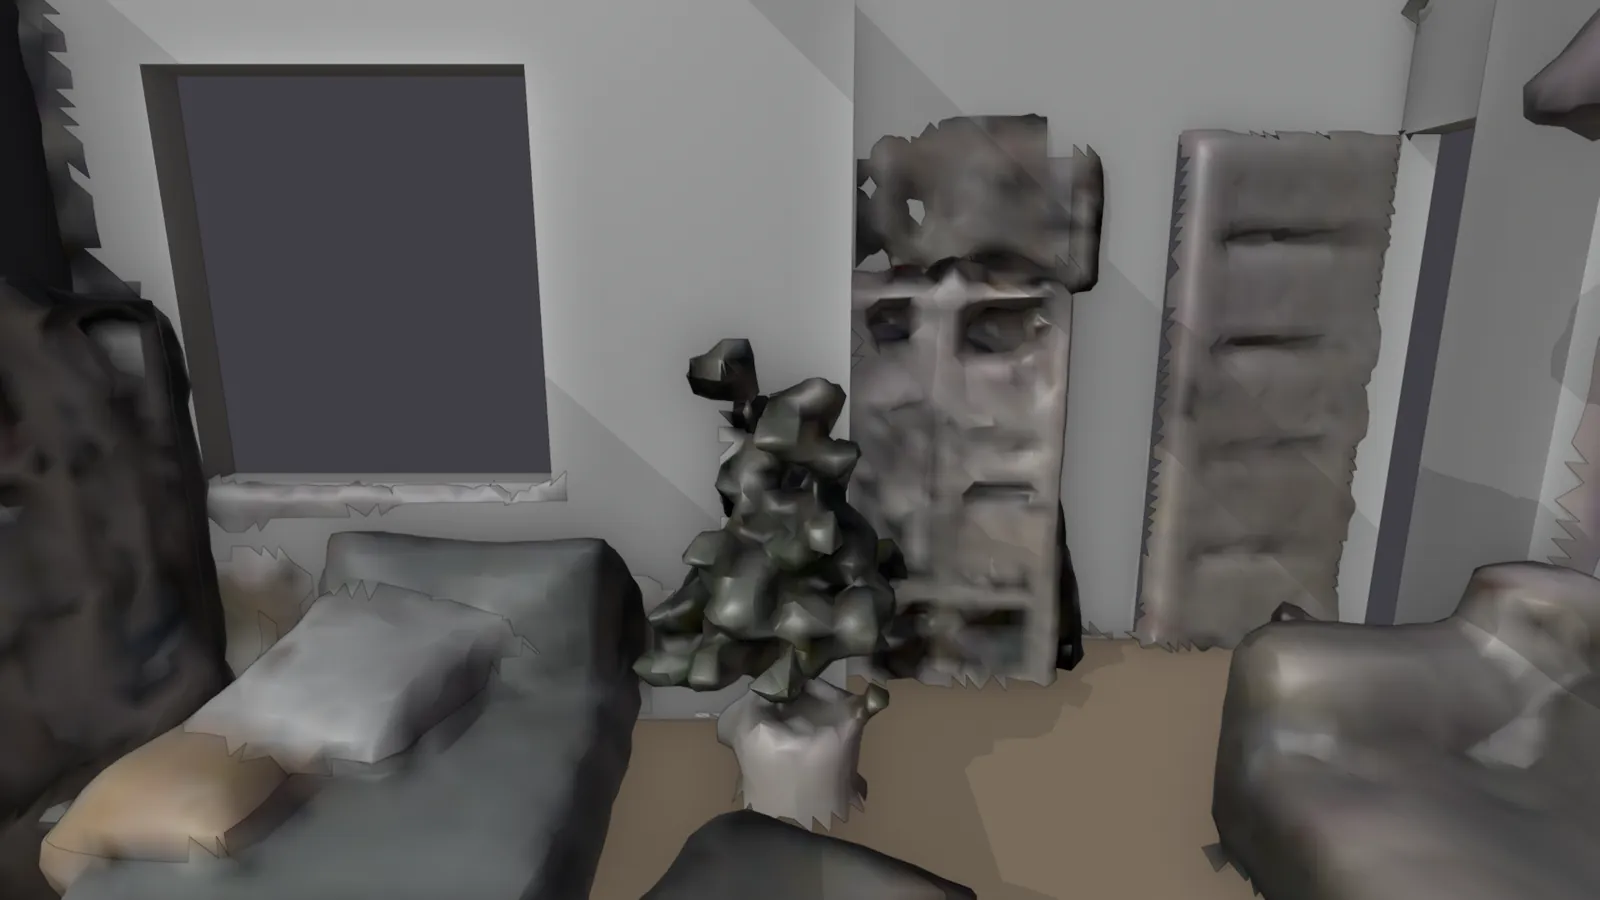
 ScanMesh cut into objects
4. Splitting the scan points themselves
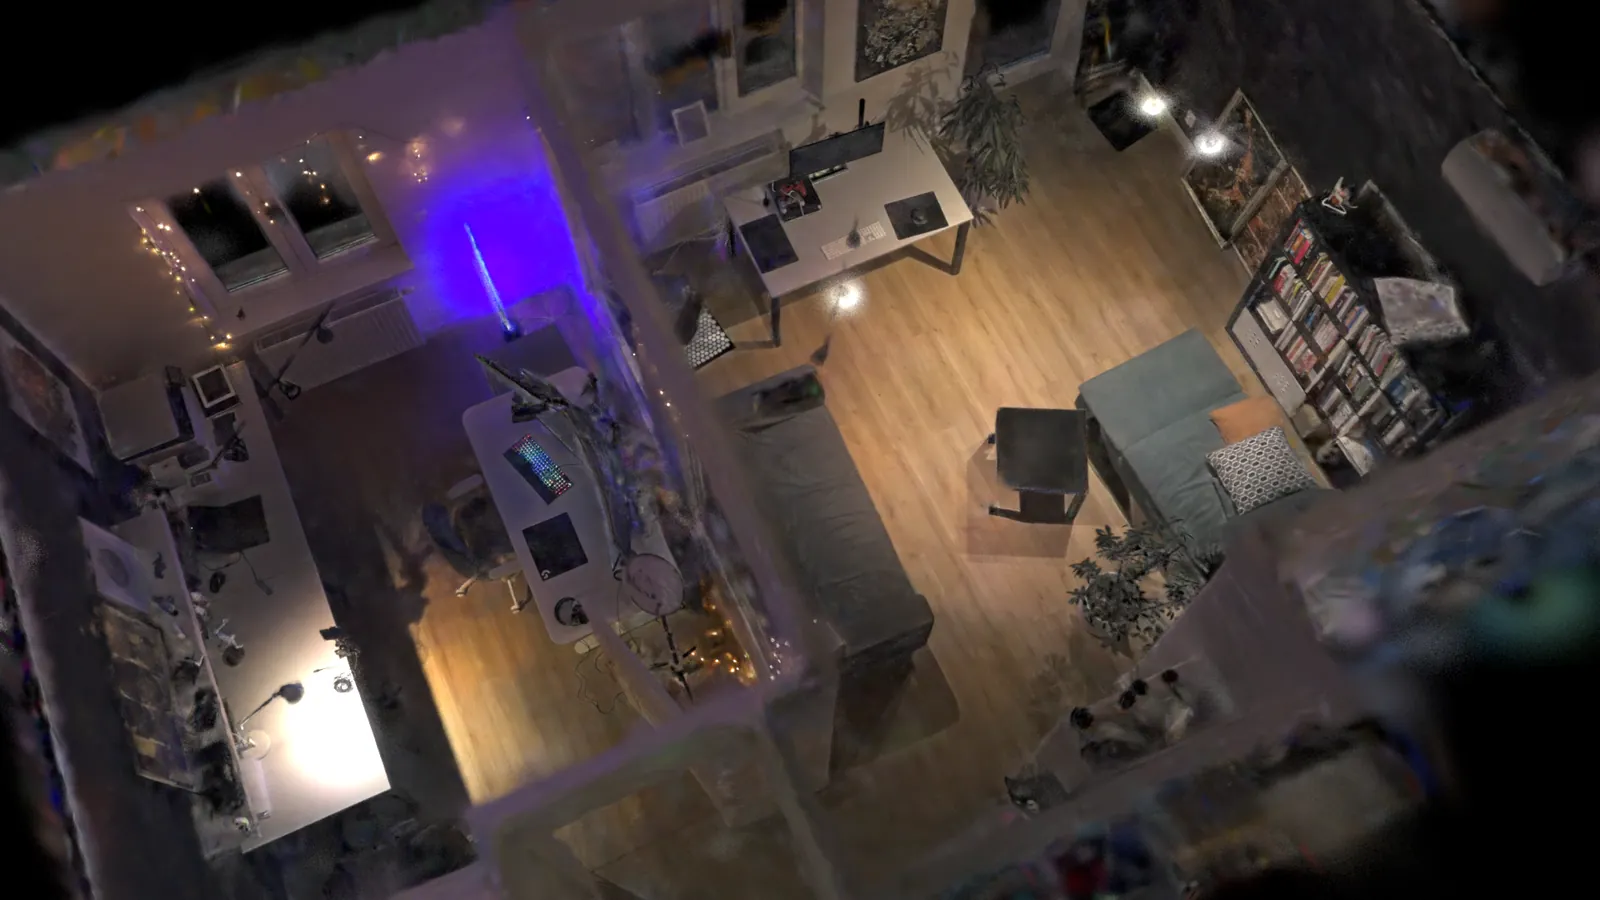
The look of a splat scan lives in its points, not in the mesh. So we decoded the scanner's file format, read every point with its position, colour, size and orientation, and gave each point to the object whose mesh piece is nearest. The rough mesh became a way of deciding what belongs to what, not something to look at. Points inside the walls, in window reveals and on the glass go with their wall.
One bug is worth showing. The first render had streaks all over the walls. The cause was a change of axes between two file formats: we had converted the position and orientation of every point and forgotten to reorder its three sizes. One line fixed it.
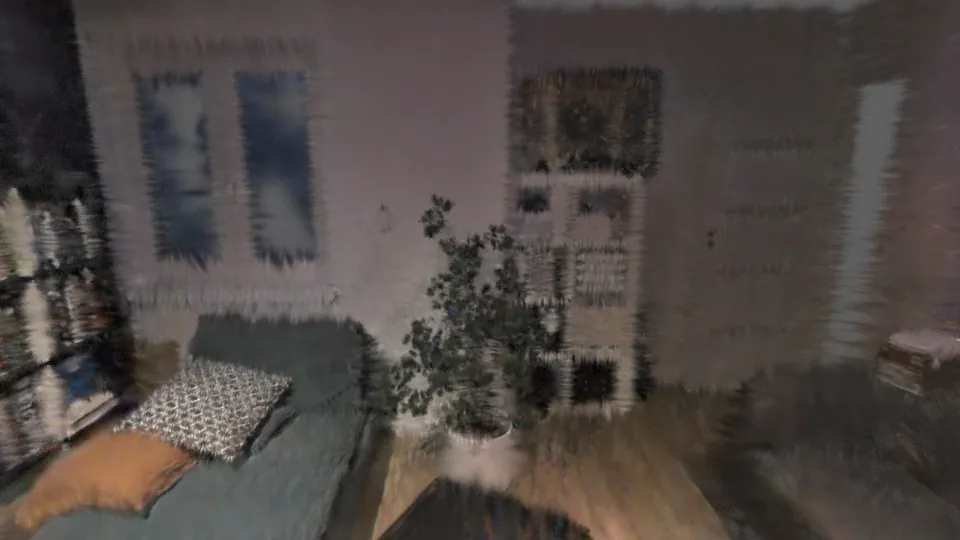 Before the fixAfter the fix
The result
The two rooms are now 104 separate things: 88 objects and 16 building elements. 53 objects have names, from the sofa and the bookshelf down to a desk lamp and a cushion. The other 35 or so are fragments without a name. A few are real things under the desks. Most turned out to be scan noise, 1.3% of the points, including the blurred shape of a person who walked through a doorway, and went to a hidden layer.
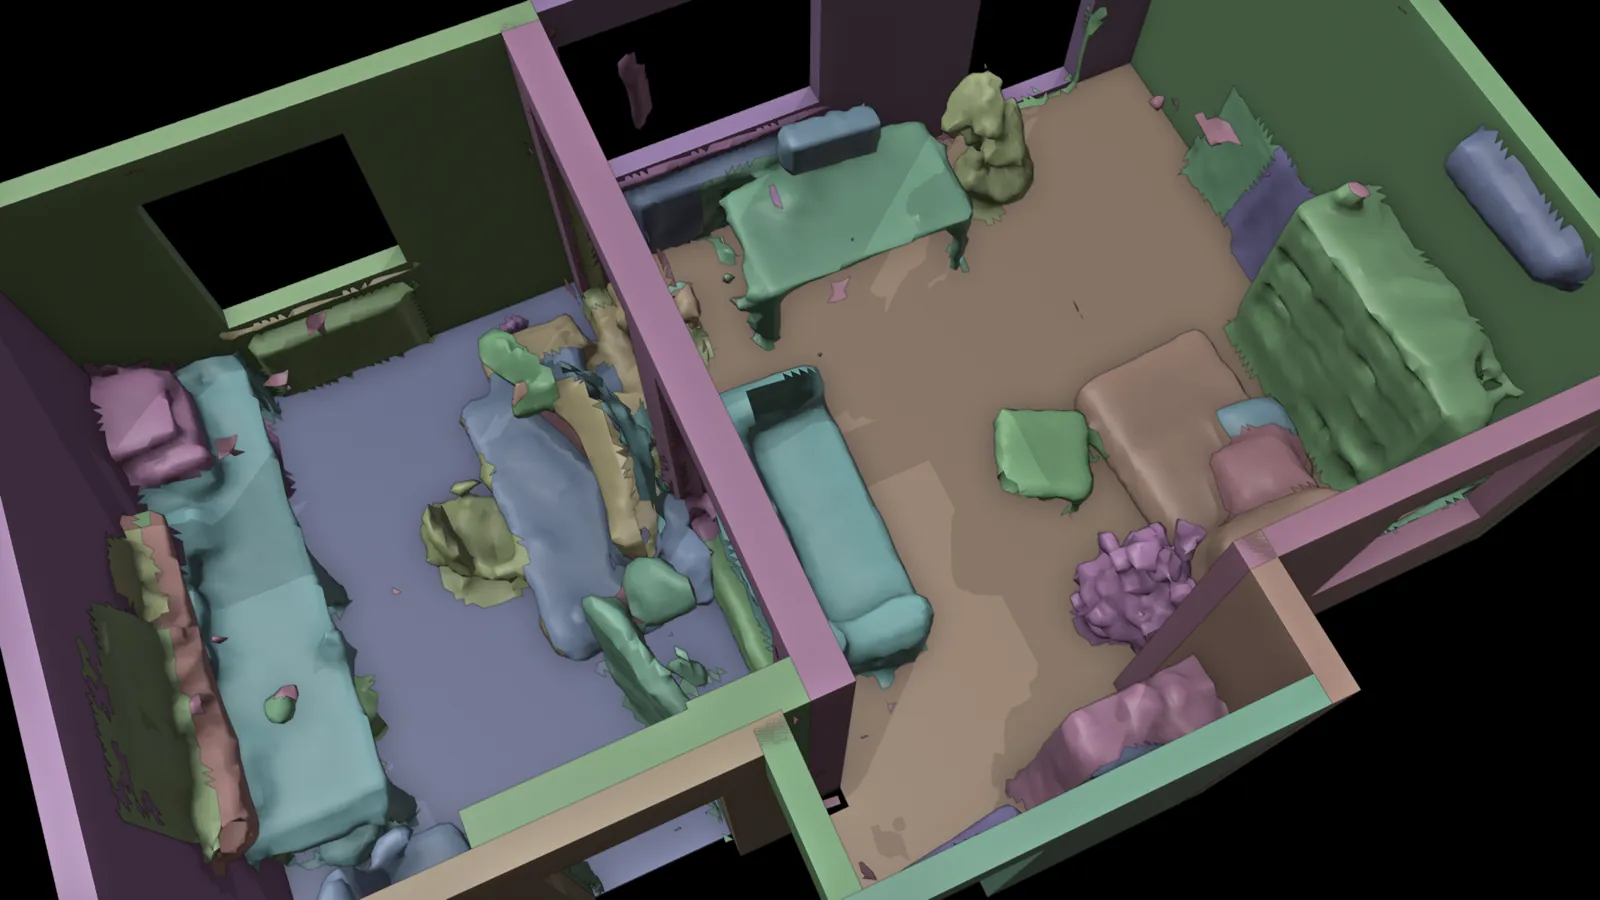 ScanSplit into objects
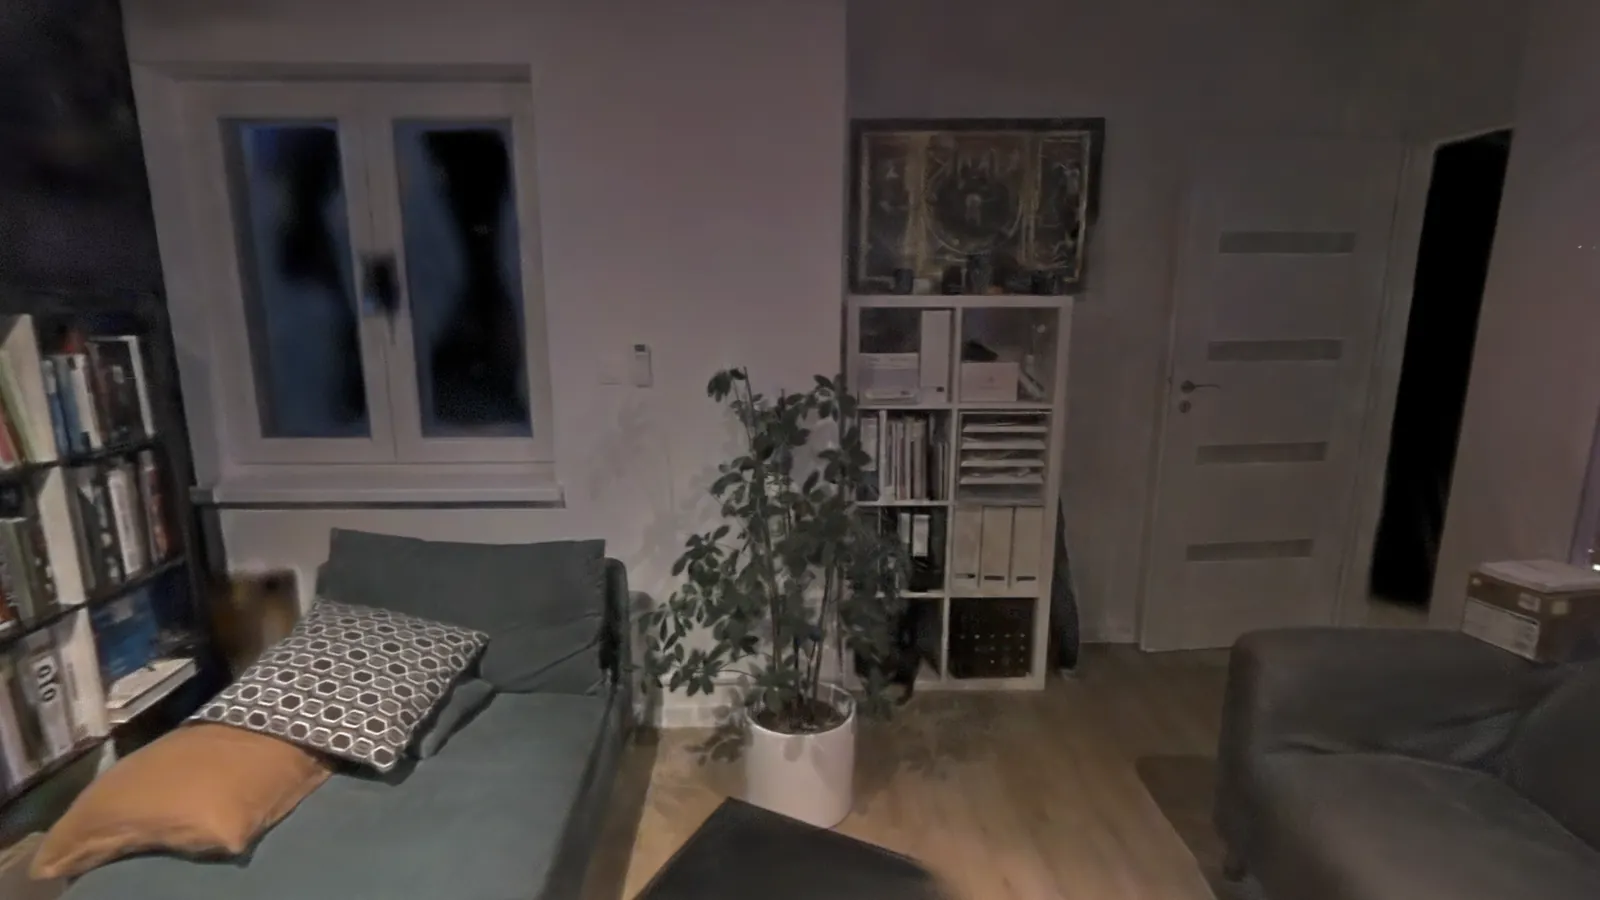
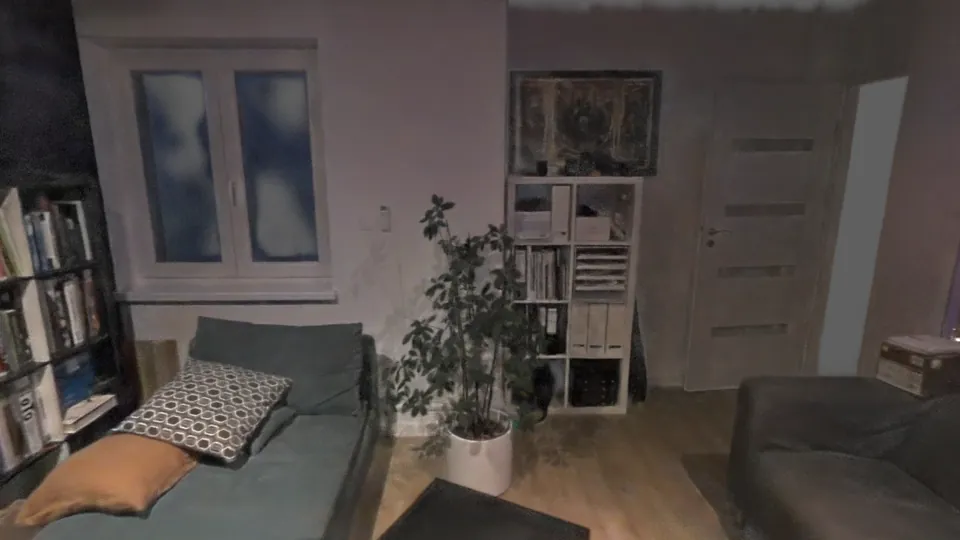
Rendered from the same camera position, the split version and the original scan are hard to tell apart.
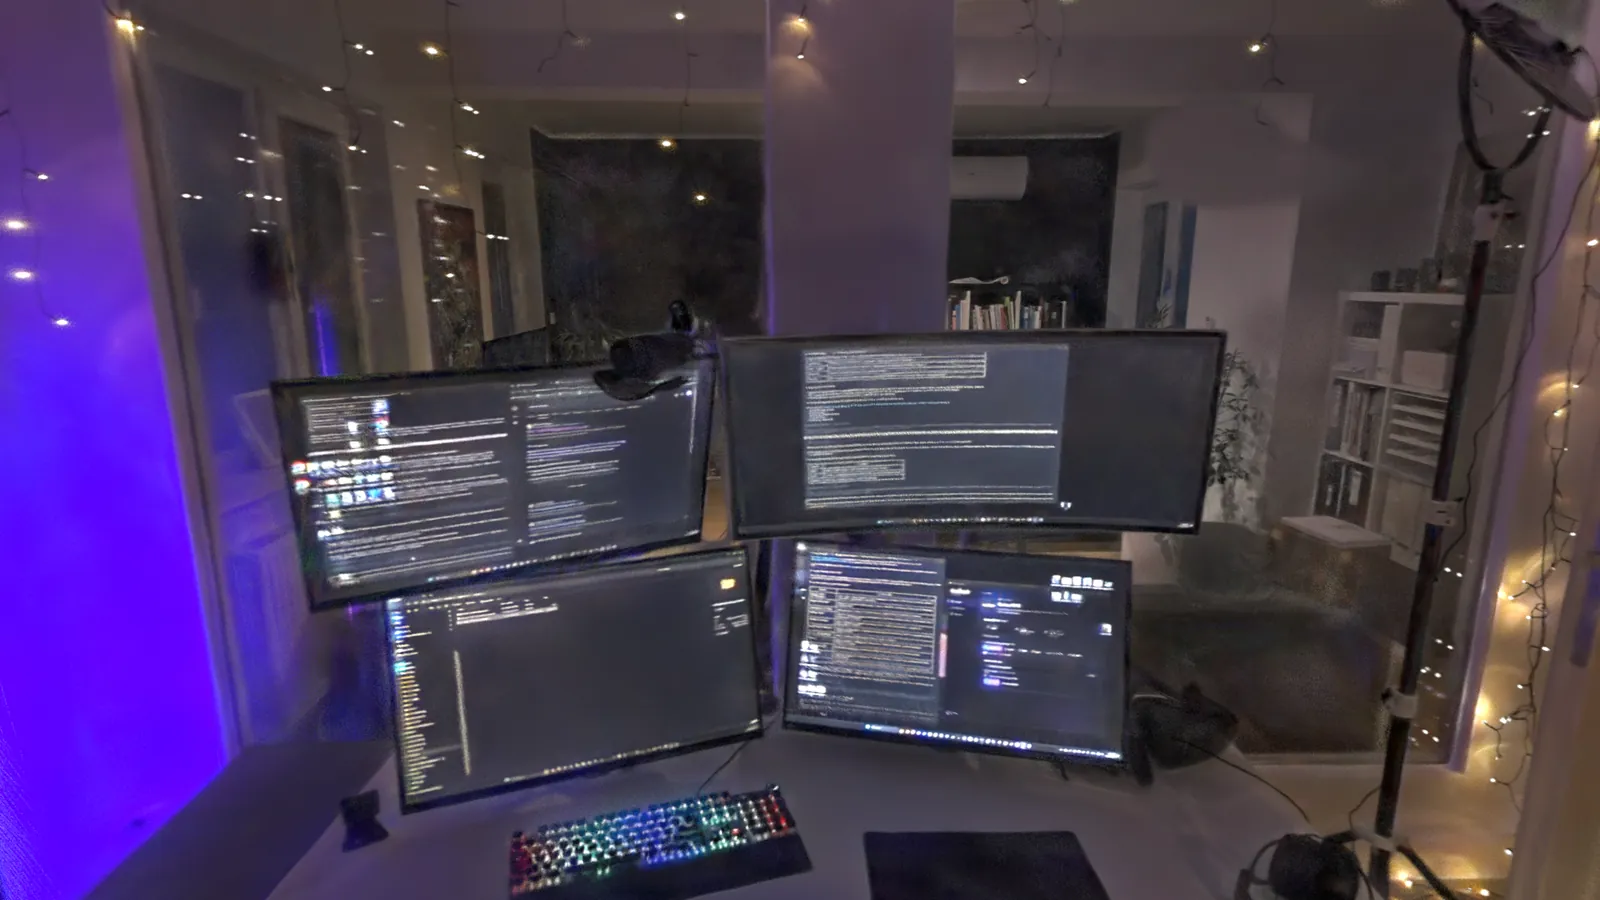
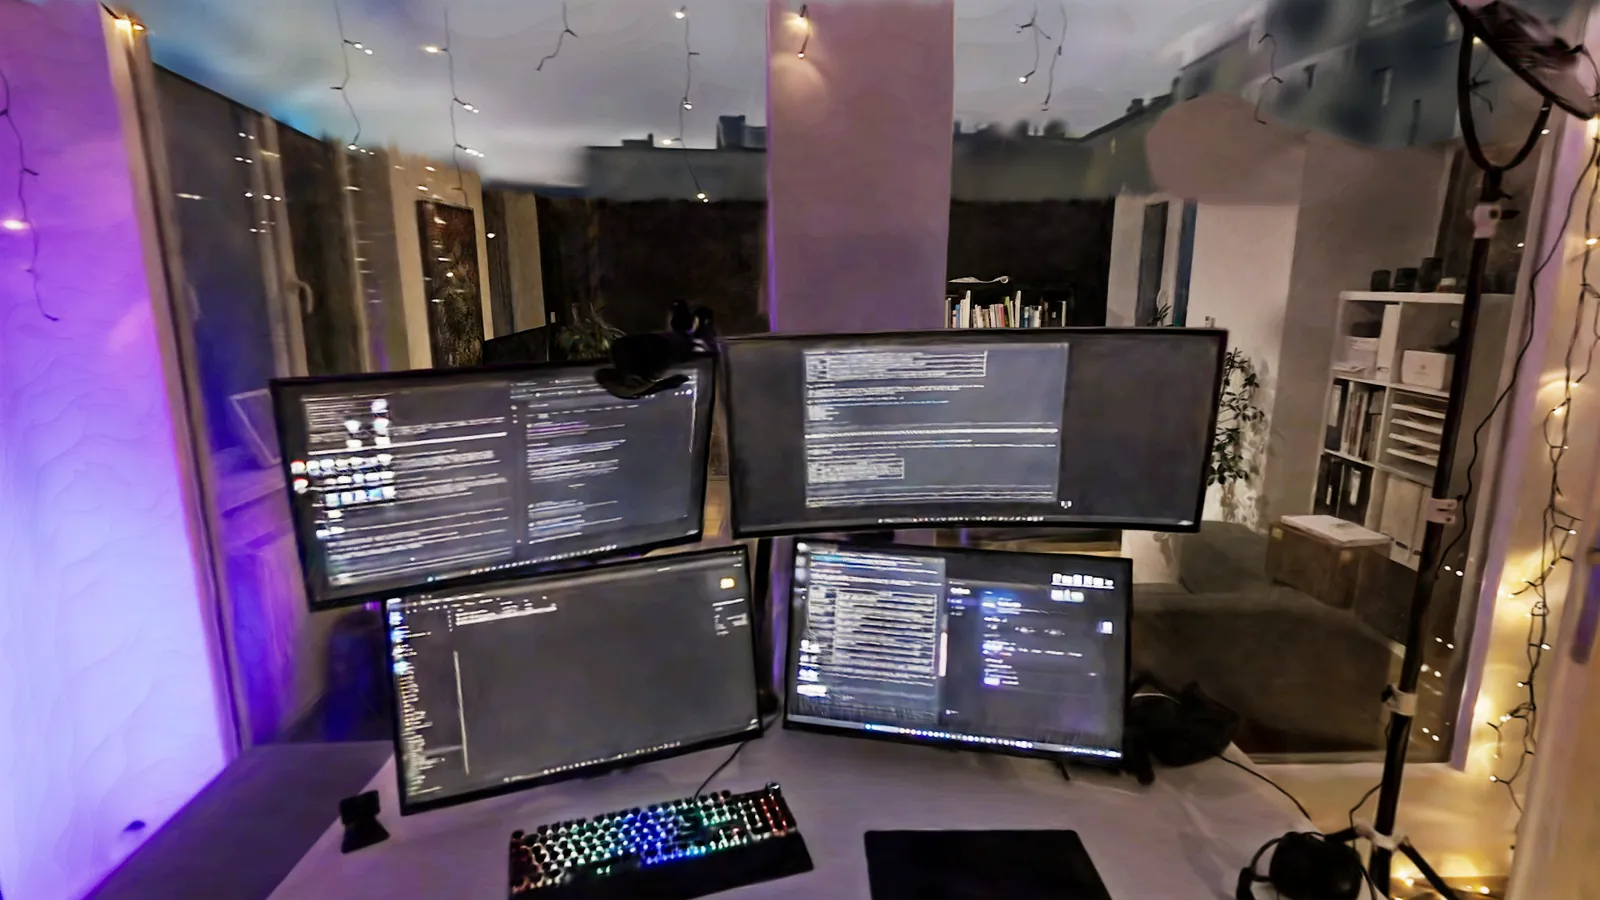 Original scanRendered from objects
More views of the same split scan. All of them are rendered from the separate objects.
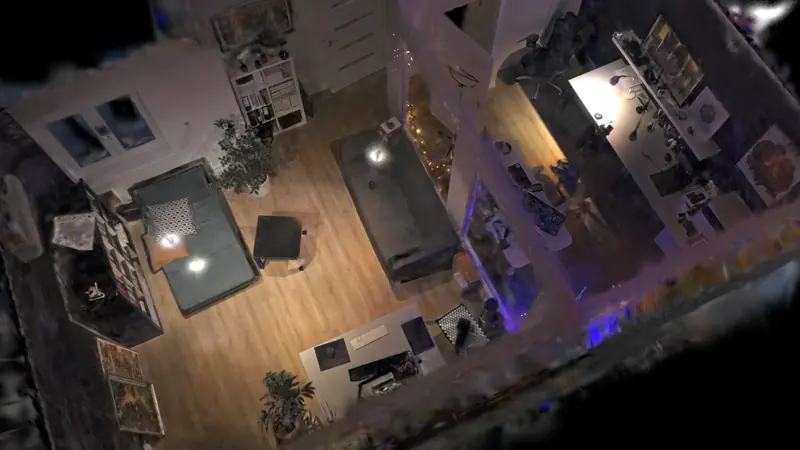
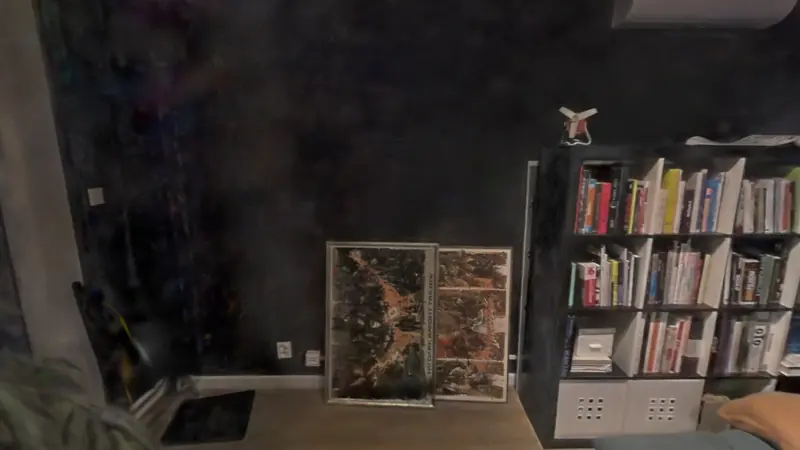
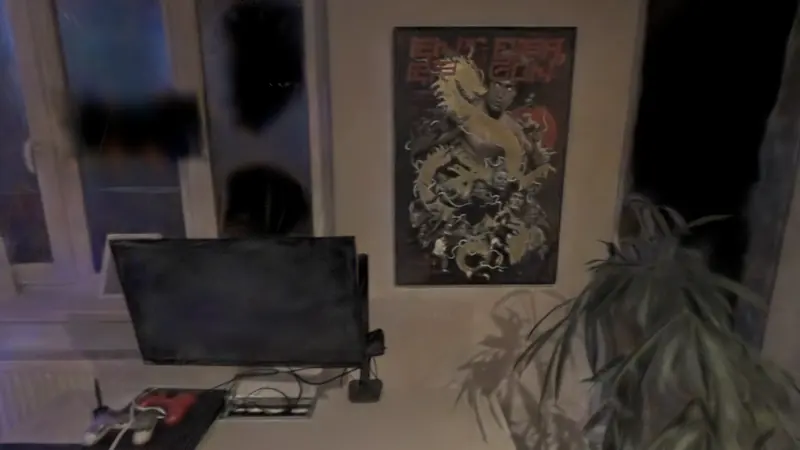
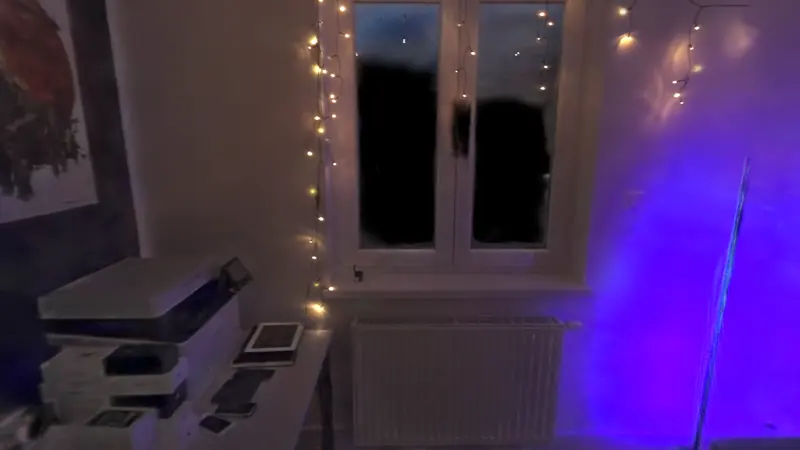
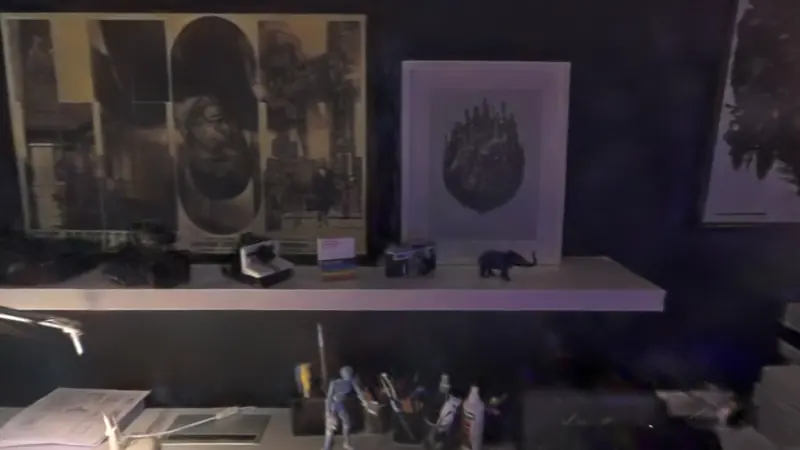
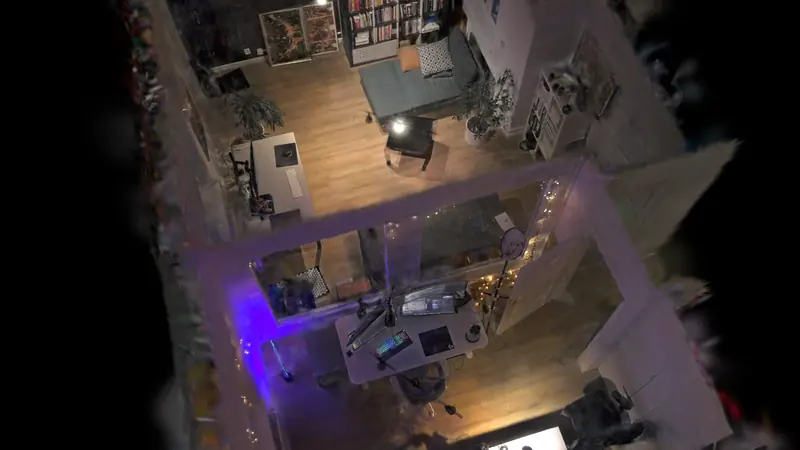
Every layer of the twin
The finished file holds the same two rooms four times, as layers that can be switched on and off: the scan itself, the scan mesh cut into objects, models rebuilt from scan points, and clean models. All four share the same positions, so they lie exactly on top of each other.
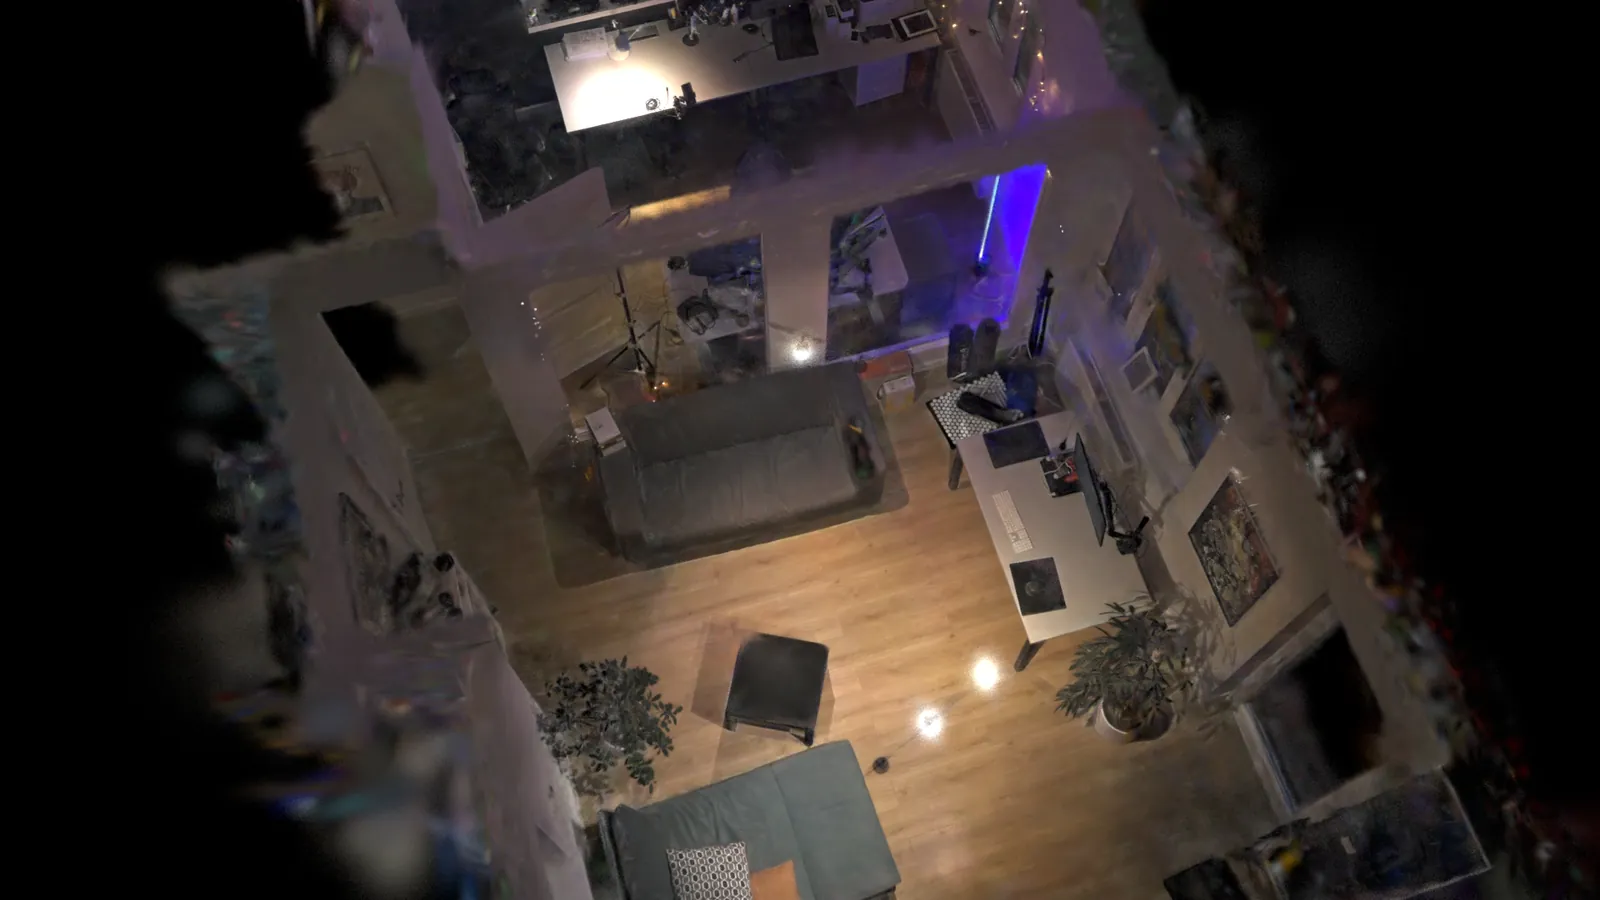
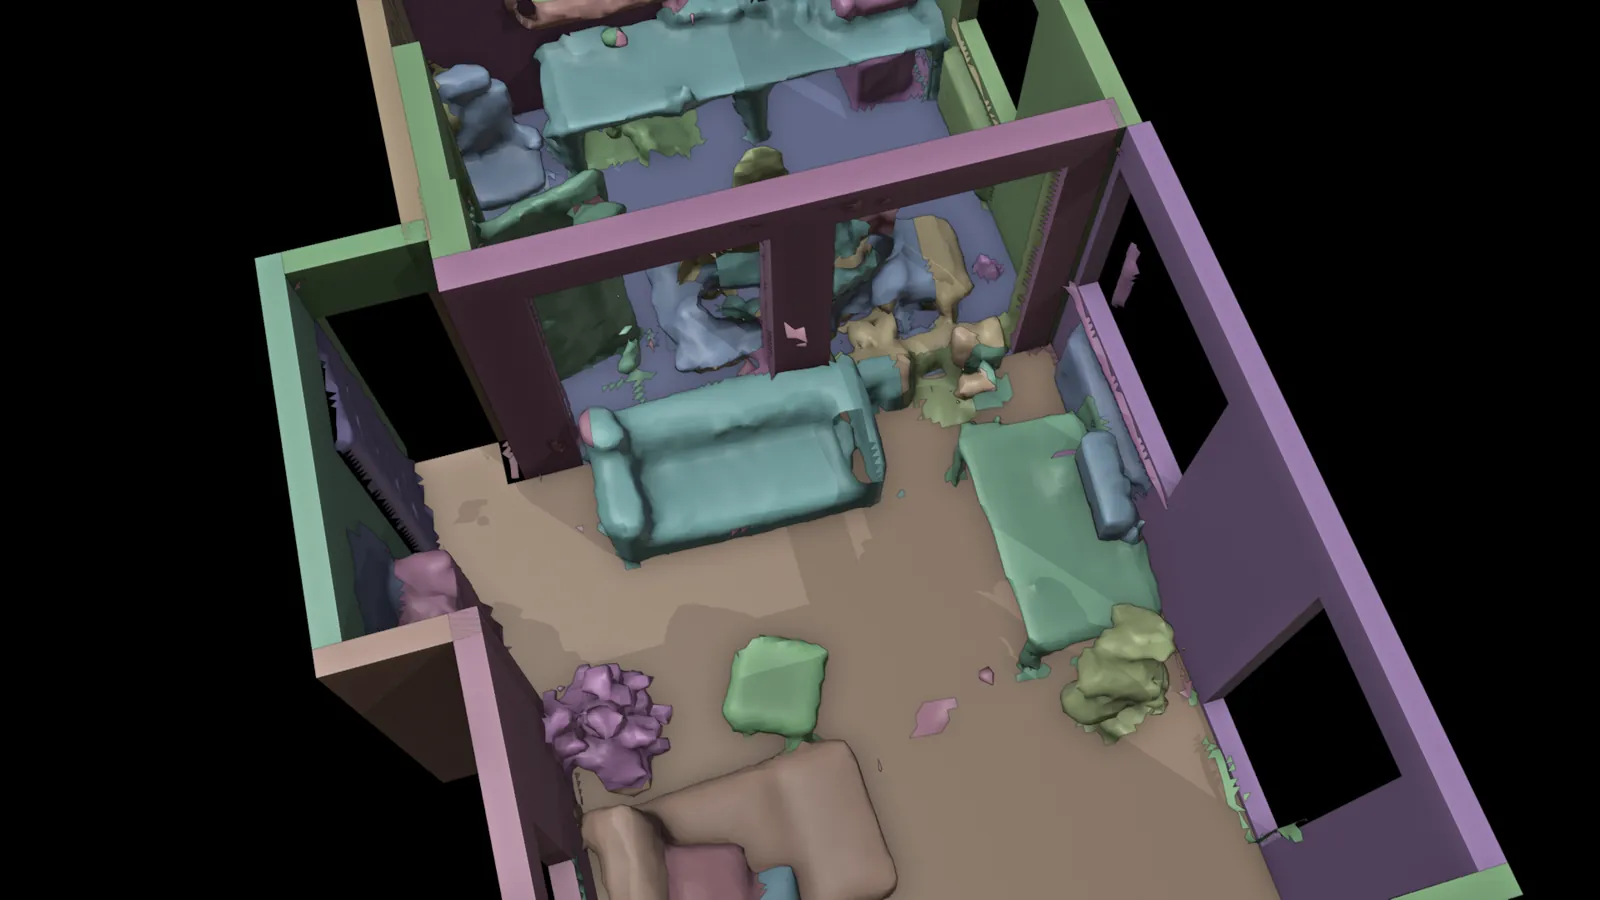
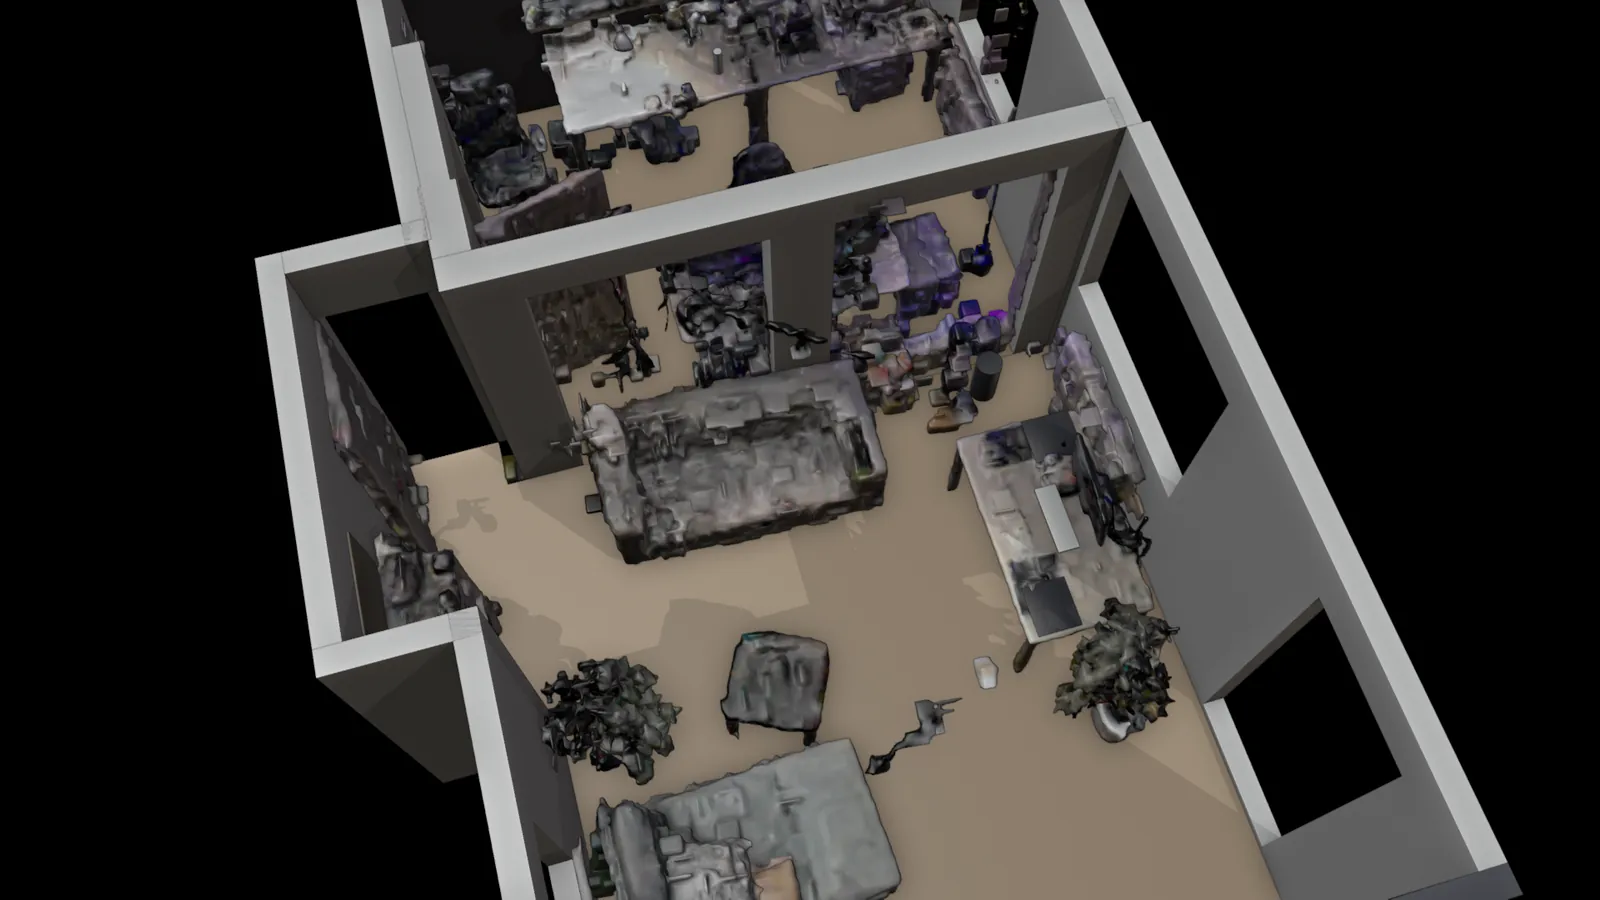
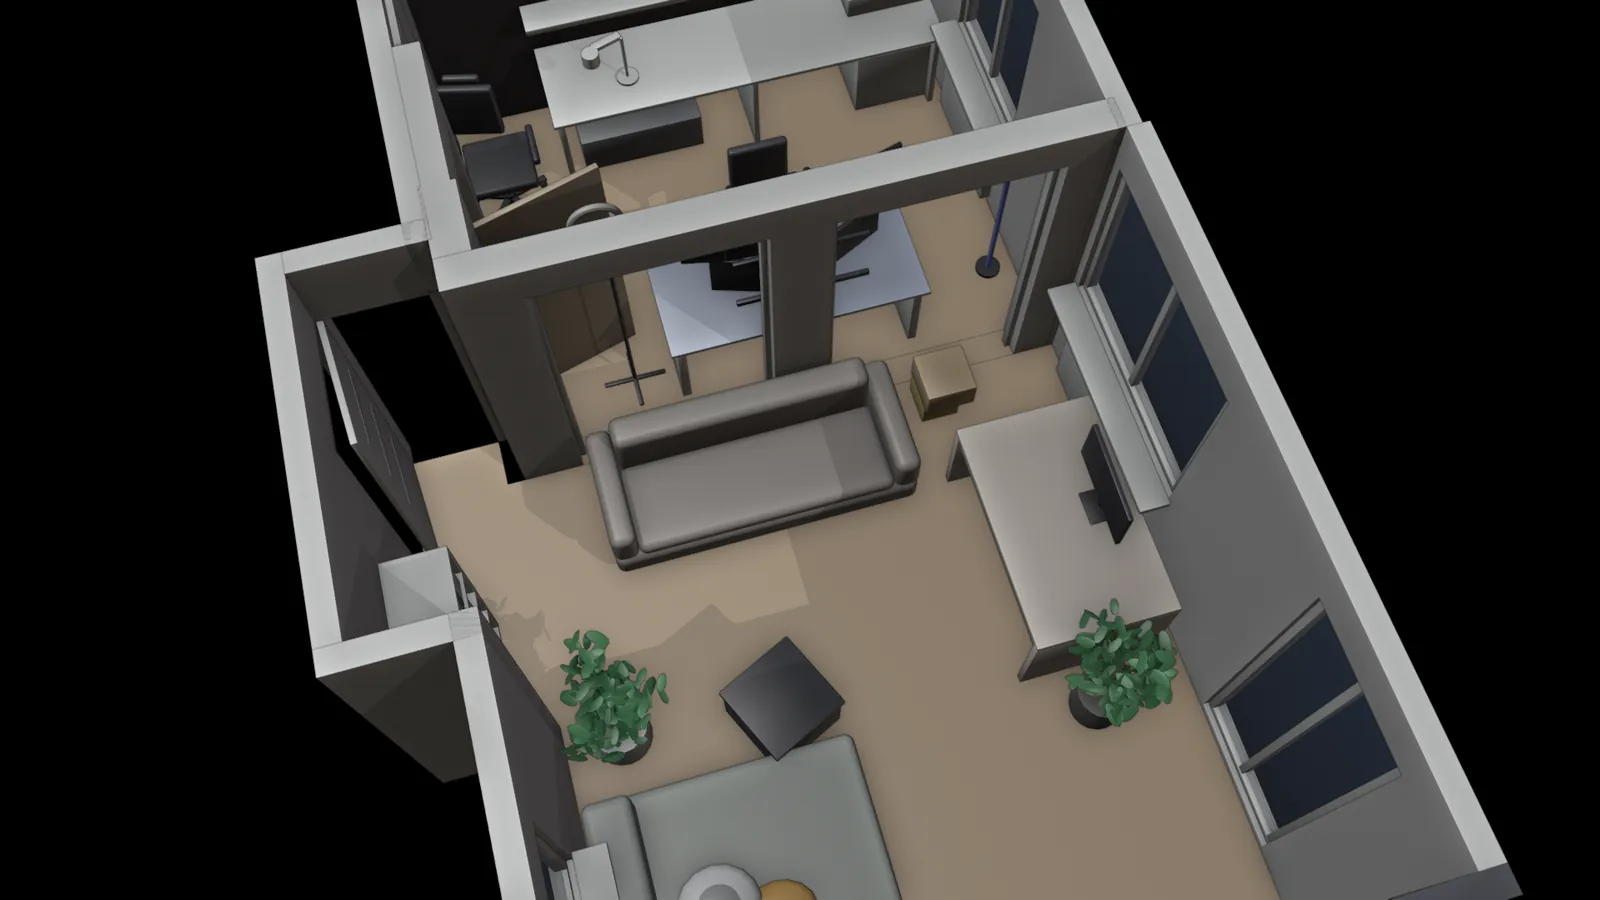
Because every object knows which scan points belong to it, it can also carry its name. In the two clips below nothing is drawn by hand. The labels are the object names from the model, placed where each object sits in the scan.
Automatic object recognition: a first trial
A person named the objects in the model. We also checked how much of that can be done automatically. A program takes a view of the scan, finds the things in it and outlines them (the Grounding DINO and SAM models, run locally on one graphics card). Each outline is then projected onto the scan points through the known camera, which gives the position and size of the object in centimetres. In the pictures below every label is a number, a name and the size: width, depth and height. The names are in Polish, as in our model.
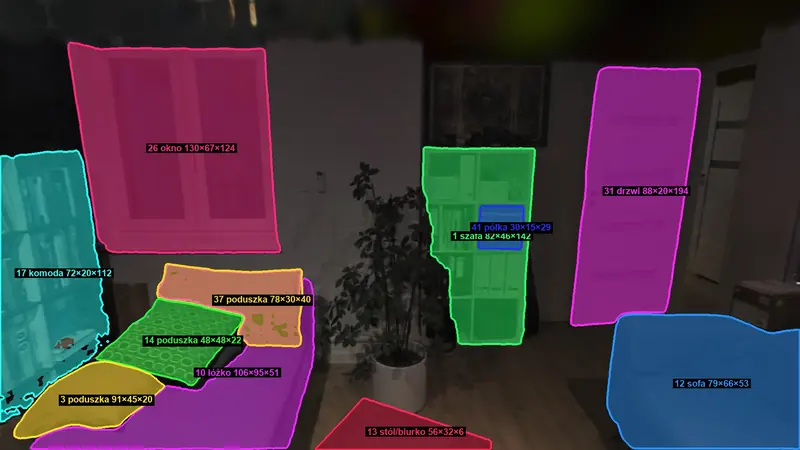
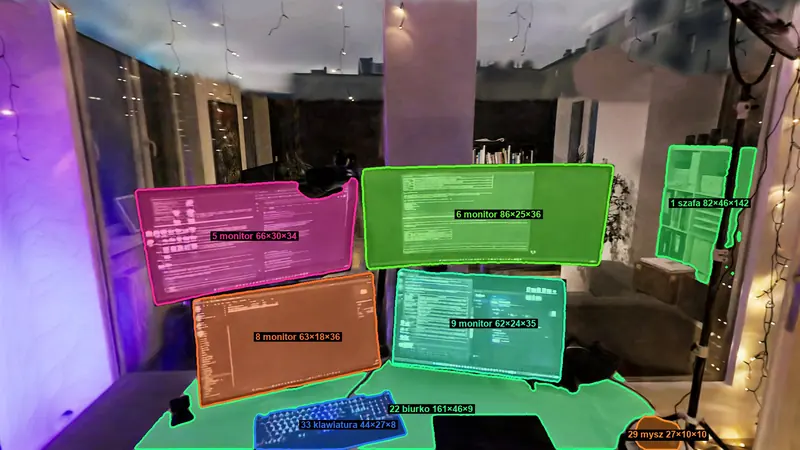
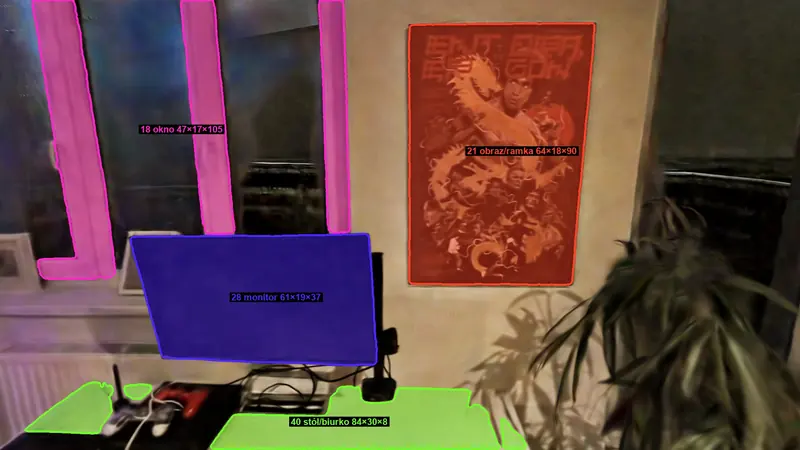
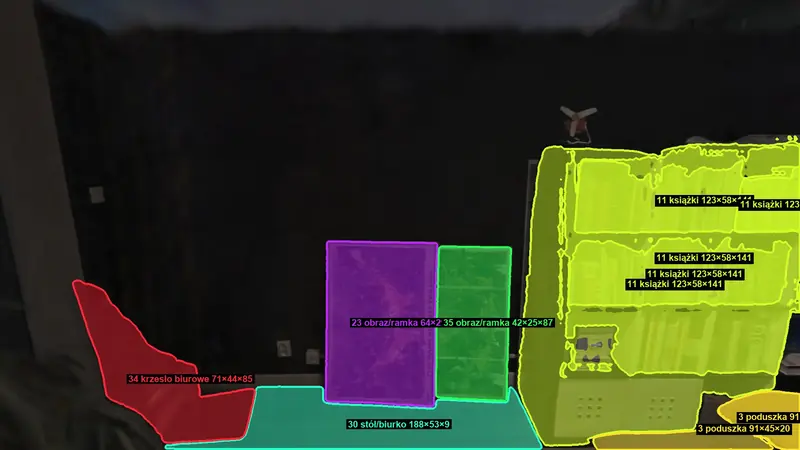
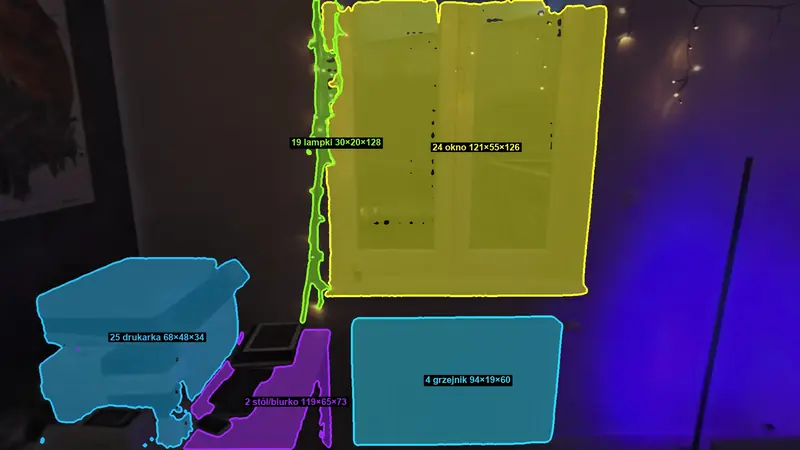
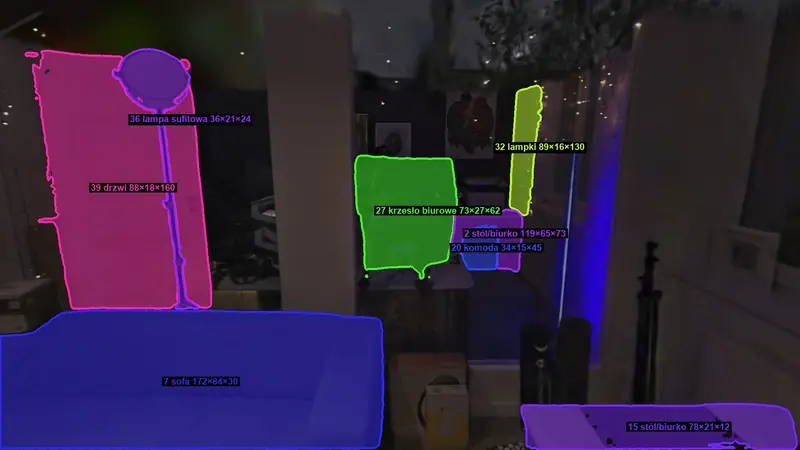
The result is promising but cannot be used unchecked yet. The program found 41 objects in the first round and 63 in the second. Over three rounds its measurements agreed with our hand-made model to within 10% for 7 of 14, 7 of 20 and 10 of 19 objects compared. Names go wrong too: a bookshelf became a chest of drawers and a daybed became a bed.
Clean models and a tape measure
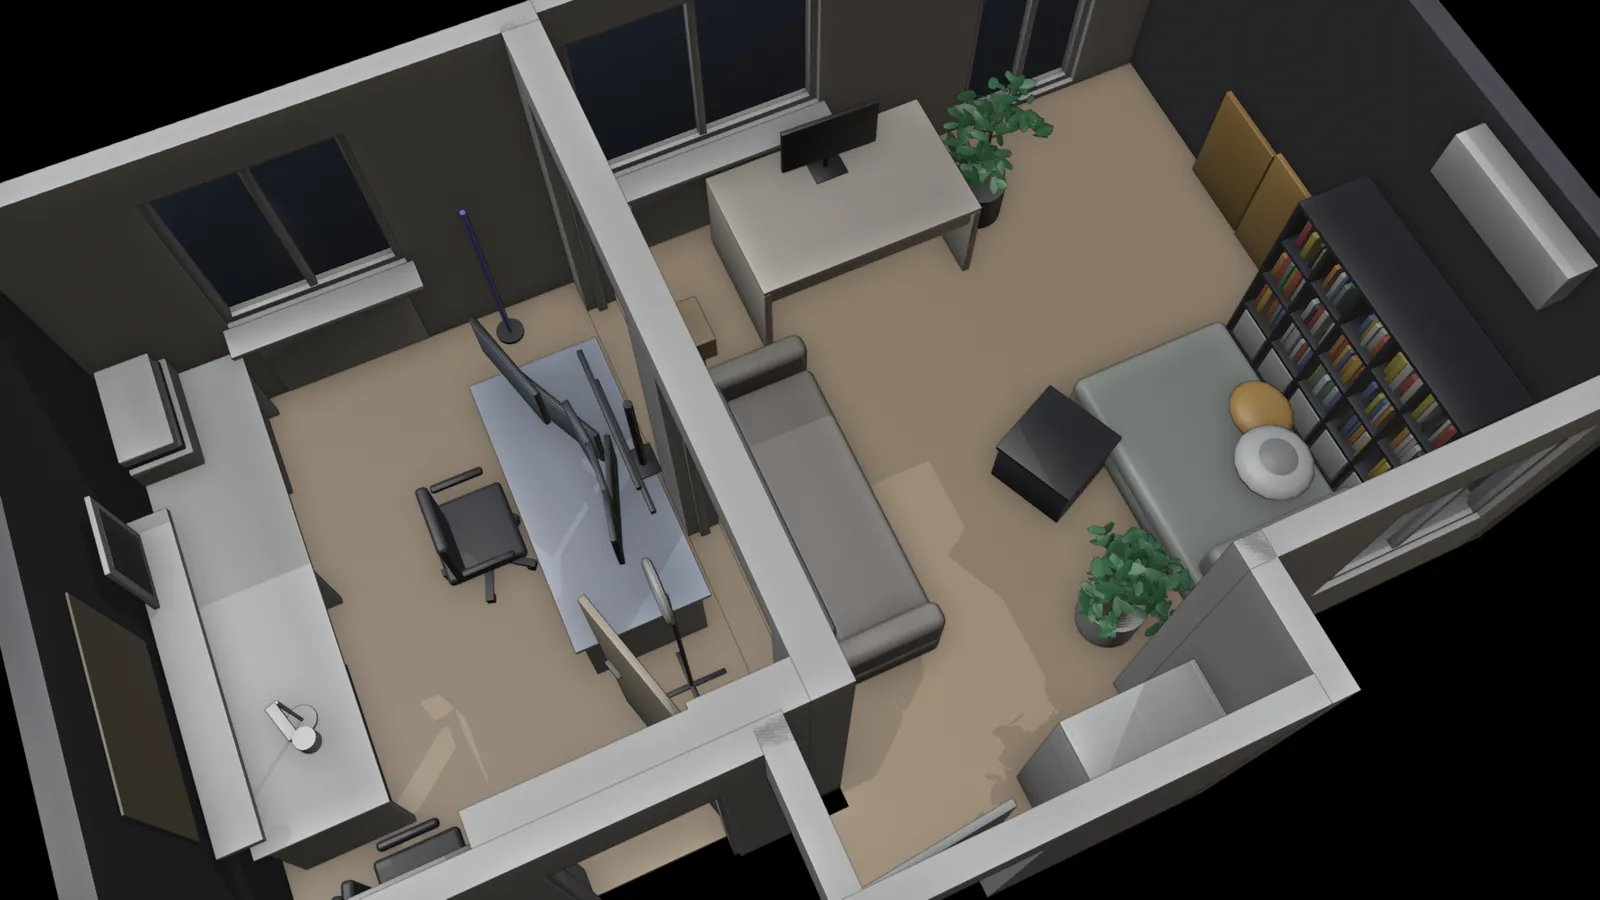
The split scan gives the look. For planning you also want plain, clean geometry that is quick to select, measure and collide with. So every named object also has a smooth model, built at the position and to the dimensions read from the scan: a sofa with rounded cushions, shelves with their compartments, office chairs on five-star bases, plants with leaves.
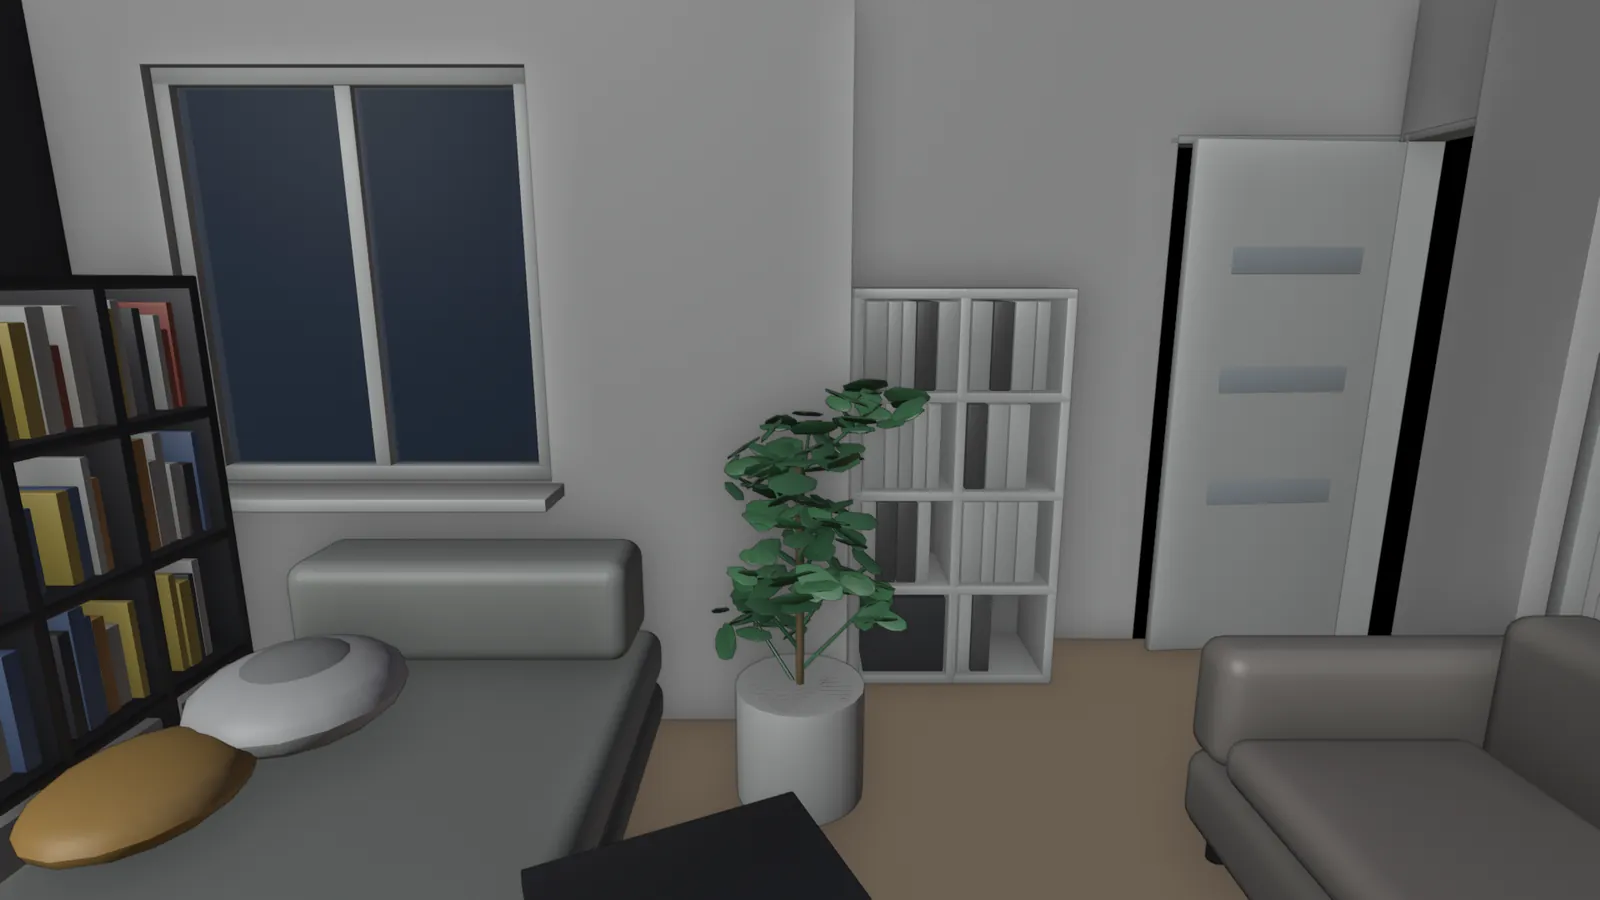 ScanClean models
We also tried to let the scan build these models by itself, by wrapping a closed surface around the scan points of each object. It got one thing right that the scanner's own mesh could not: the four monitors came out as four separate slabs. But every surface looked as if it had been shaped from clay, so these meshes stay in the file as a hidden layer and the clean models are the ones you see.
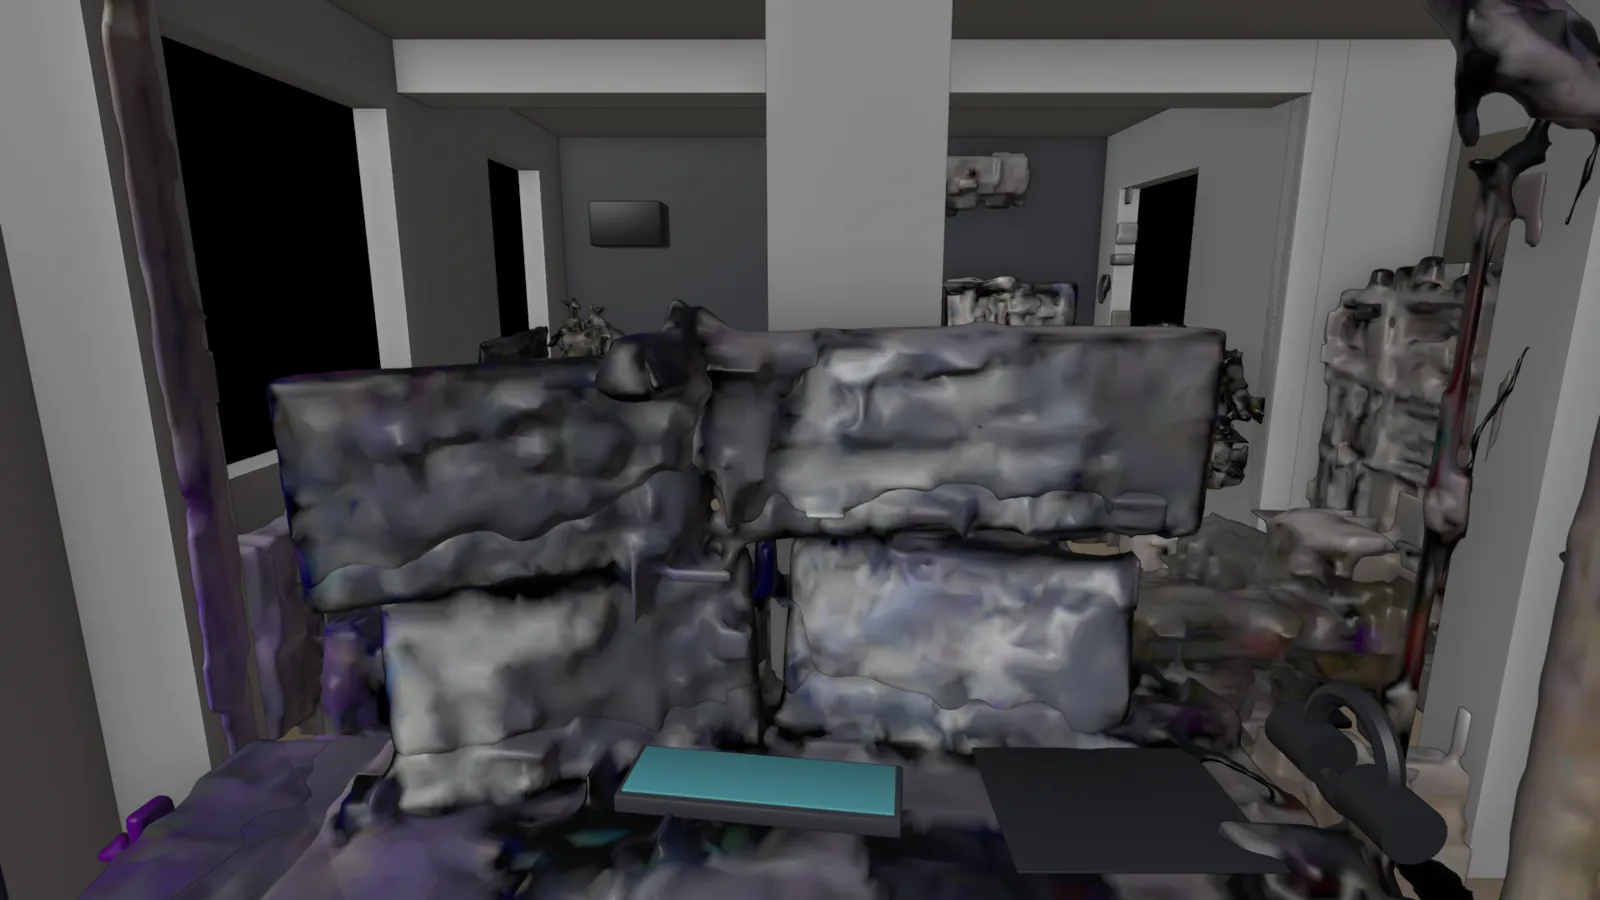
 ScanModels from scan points
Finally we took a tape measure to two objects. The white shelf measures 76.5 x 39 x 147 cm. Our model read from the scan had 80 x 37 x 143 cm, so it was off by 2 to 4 cm. The coffee table measures 55 x 55 x 45 cm against 55 x 55 x 44 cm in the model. The lesson: the accuracy figures above say how closely the model follows the scan, not how closely it follows reality. For standard furniture the catalogue or a tape gives the size, and the scan gives the position.
Using the twin: two furniture layouts, measured
With every piece of furniture as a separate object, the question "what if we moved this" can be answered with numbers. We measured the current layout and two variants the same way: how much floor is free, how wide the narrowest point is on the way from each seat to an exit, and whether the wardrobe, the windows and the balcony door can be reached.
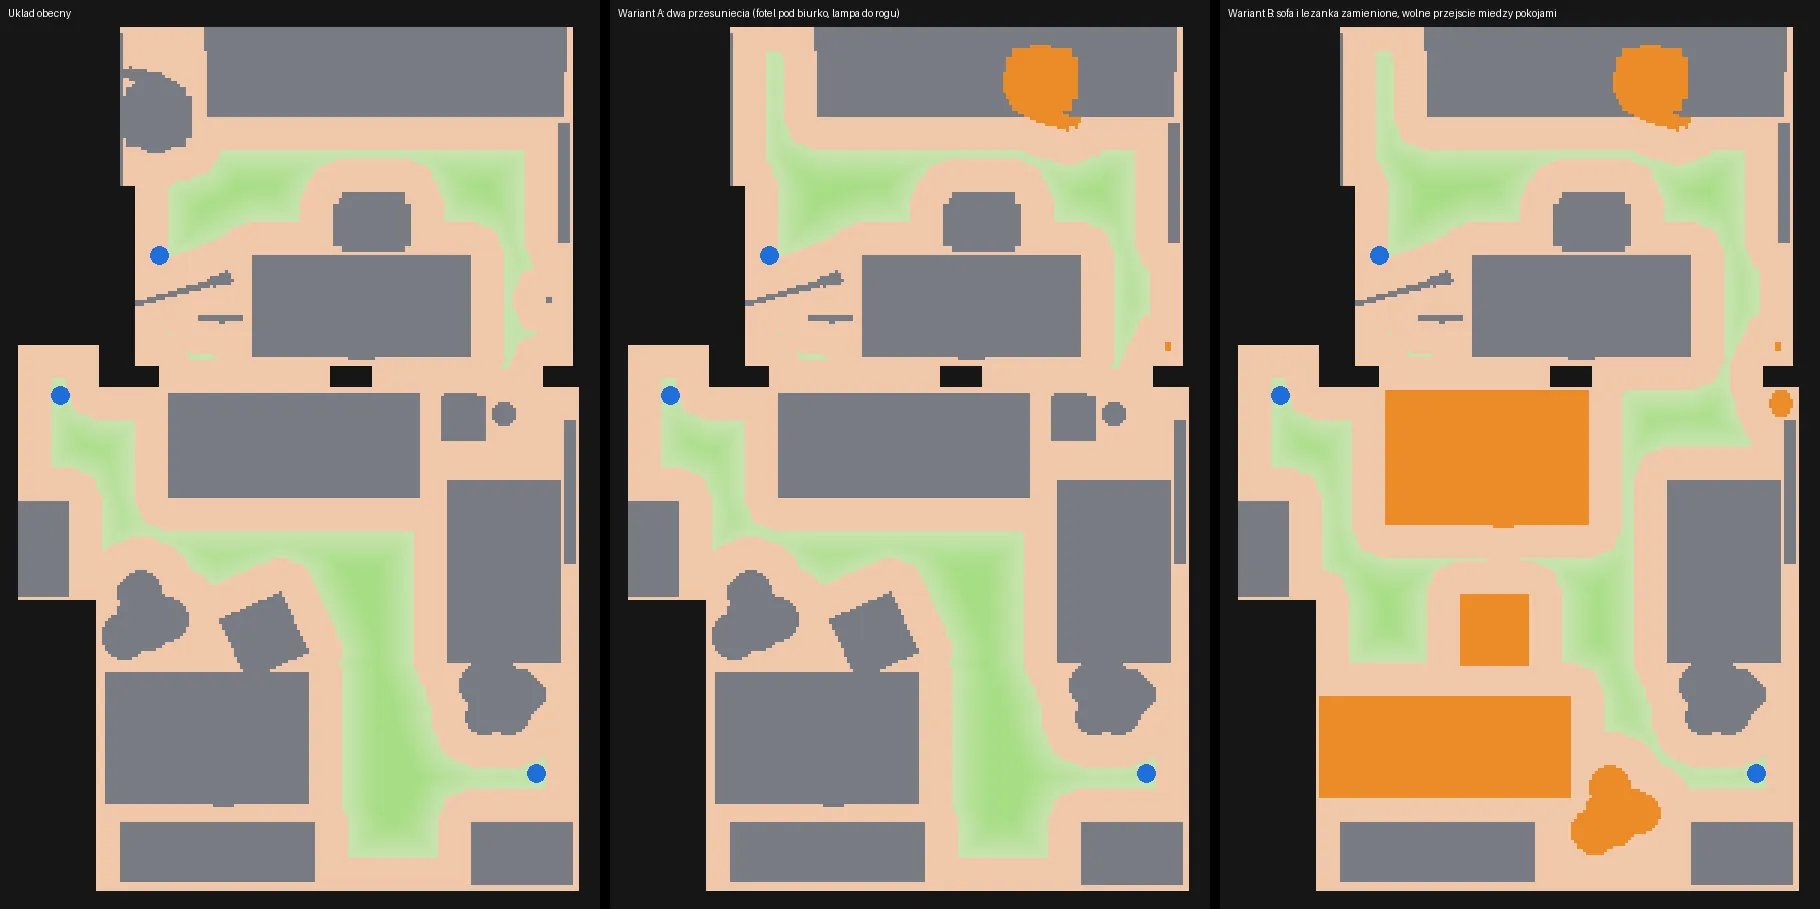
- Current layout. The sofa and two boxes close both openings between the rooms, so the smaller room has one way out. An office chair stands in front of the built-in wardrobe. Of 16.7 m² of free floor only 4.7 m² has a passage at least 60 cm wide.
- Variant A, two moves. The office chair goes under the long desk and a floor lamp into a corner. The wardrobe gets 85 cm of access and nothing else gets worse.
- Variant B, sofa and chaise swapped. The chaise is 40 cm shorter, so it uncovers one opening: a second way between the rooms, 60 cm wide. The way from the sofa to the exit widens from 65 to 80 cm. The price: access to the window drops from 110 to 65 cm and to the balcony door from 75 to 65 cm, because the chaise is deeper than the sofa.
Our first proposals were worse than the layout that is there today: boxes moved into the main exit route, a table in the way to the balcony. They looked reasonable on a plan. Only the measurement showed it.
What it cannot do yet
- Holes. Move the sofa and the floor under it is empty. The scanner never saw it. Filling such gaps is the next step.
- Glass and thin shiny things. The scanner sees through glass and struggles with monitor screens. We could not tell from the scan whether two wide openings between the rooms are glazed.
- Moving people. Someone walked through a doorway during the scan and left a blurred shape. It became a separate object, so we could simply move it out of the model.
- Naming. A person named the objects. Automatic recognition from rendered views found 63 objects in a first trial and confused a bookshelf with a chest of drawers, so it still needs checking.
- Scale. Two rooms, not a production hall. The method does not depend on size, but we have not run it on a large site yet.
What this means for a site owner
A scan answers the question "what does it look like". A twin made of objects answers "what if". What if this machine moves two metres, what if this door is blocked, which route is left and what does the camera in the corner still see. In our courtyard case study we replayed real movement in a twin built from tape measurements. A scan split into objects gives the same kind of twin for an interior, with the real furniture and equipment in it.
Questions and answers
What is a Gaussian splat scan?
A 3D recording of a place made of about a million small coloured blobs instead of triangles. It looks close to a photograph from any angle, but by itself it has no separate objects and no dimensions you can query.
Can objects be moved in a scanned digital twin?
Yes, once the scan is split. In this test two rooms became 104 separate things, each with its own scan points, and each can be selected and moved. The place where an object stood stays empty, because the scanner never saw what was under it.
How accurate is a twin built this way?
In this test walls, floor and ceiling lie within 0.8 cm of the scan (median) and the simplified shapes of objects within 2.4 cm. The scan points themselves are not altered, so the look is identical to the scan. Against a tape measure, two objects we checked differed from the model by 0 to 4 cm.
Can a scanned twin help plan a furniture or machine layout?
Yes. With every object separate, a layout can be changed in the model and measured before anything is moved: free floor, the narrowest point on each route to an exit, access to doors and windows. In this test two variants were compared with the current layout this way.
How long does it take?
The scan of two rooms took 5 minutes 21 seconds and its processing 28 minutes. Splitting it into objects took us two working days the first time, most of it spent on mistakes described above.
All numbers come from our own scan and measurements, 13 and 14 November 2026. Tools used: XGRIDS L2 Pro scanner with LCC Studio, Blender 5.3 and Unreal Engine 5.8. The screens visible in the scan are not readable.